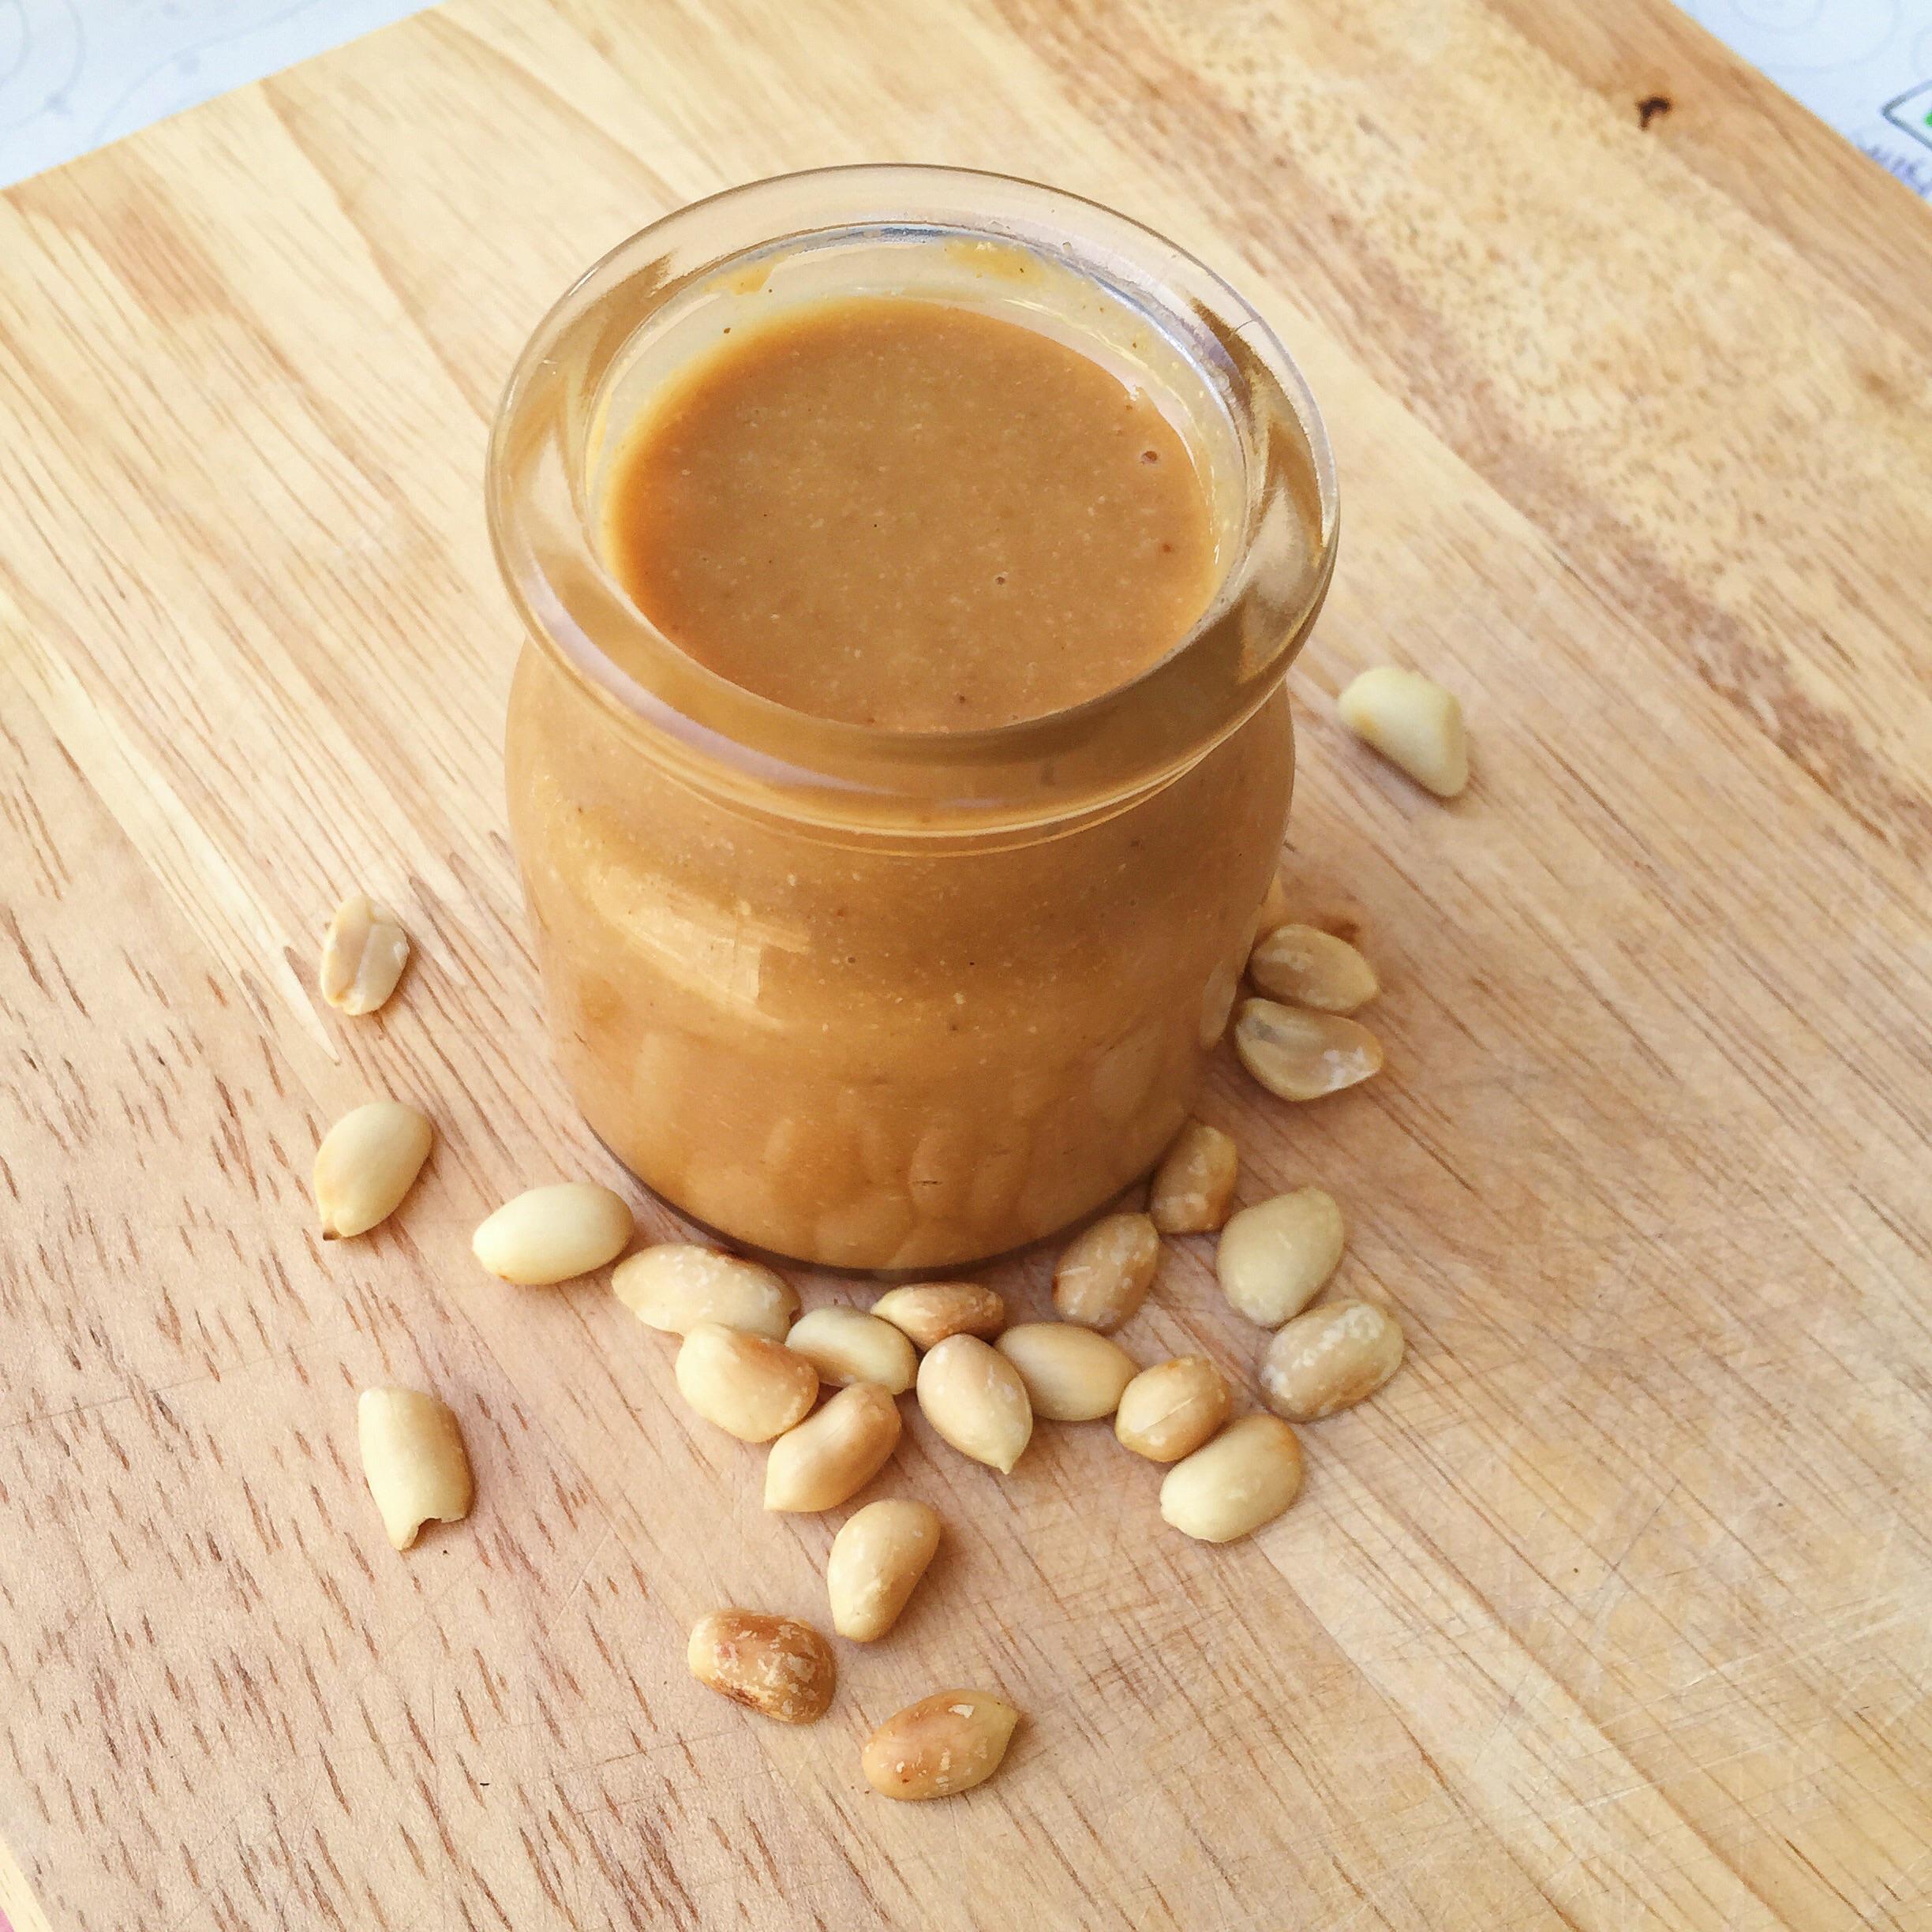
Creamy Peanut Butter
Crunchy Peanut Butter

Scroll down for English text and recipe!
Trong sự nghiệp mày mò của mình thì bơ đậu phộng là món DỄ LÀM NHẤT NHẤT NHẤT luôn, thành phẩm làm ra vừa ngon, vừa tiết kiệm, mà quan trọng nhất là biết là mình đang ăn cái gì vào trong người, còn gì bằng nữa chứ??Nhưng phải thú thật là bơ đậu phộng nhà làm thì sẽ không thể hoàn toàn mịn mượt như hàng chính hãng được đâu nha. Hay là do máy của mình máy đểu nhỉ??
Tất cả những gì bạn cần để làm bơ đậu phộng là đậu phộng? tất nhiên rồi, và một cái cối xay. Nếu nhà bạn có food processor thì nhất rồi, mình xay bằng máy xay sinh tố vẫn ngon lành, chỉ là lâu hơn bạn food processor xíu thôi.
Ngoài nguyên liệu ‘đậu phộng bắt buộc’ mình cho thêm mật ong và chút muối vào, bơ có vị mặn ngọt, ngon lắm luôn, nhưng nếu không thích các bạn có thể bỏ qua. Còn về phần dầu ăn, cái này là không bắt buộc nhưng mà theo mình thì rất nên cho vào bởi vì dầu ăn giúp cho bơ đậu phộng mềm, mượt (creamy) hơn, ngay cả khi bảo quản trong tủ lạnh vài tuần. Còn về ăn món này như thế nào thì chắc mình không cần nói đâu nhỉ??
À quên còn một lưu ý nho nhỏ nữa thôi, các bạn có thể dùng đậu phộng sống hoặc đậu phộng rang chín để làm, nhưng mà đậu phộng rang chín ăn thơm hơn mà còn dễ xay nữa, đậu phộng sống khi xay có thể cần thêm nhiều dầu ăn hơn chút. Lần này là hết thật rồi á.
Làm được khoảng 520g bơ đậu phộng
500g đậu phộng, không vỏ
½ teaspoon muối, tùy chọn
2-3 tablespoon dầu ăn (không dùng dầu oliu), tùy chọn
2 tablespoon mật ong, tùy chọn
*Nếu các bạn dùng đậu phộng rang muối mua sẵn để làm thì có thể không cần cho thêm muối vào nữa.
Cho đậu phộng vào cối và xay cho đến khi đậu phộng nát thành các vụ nhỏ. Nếu các bạn muốn làm ‘chunky’ bơ đậu phộng thì lấy ra khoảng ½ chén ăn cơm ở bước này.

Xay thêm khoảng 1 phút nữa cho đậu phộng nát mịn. Cho muối vào và dầu ăn vào (nếu dùng) và tiếp tục xay thêm khoảng 1-2 phút (tùy công suất máy) dùng spatula vét thành và đáy cối xay, lúc này các bạn thấy bơ đã nát nhuyễn quyện vào nhau, nhìn thấy hơi hướng của bơ đậu phộng rồi ha.

Tiếp tuc xay thêm một phút nữa, cho mật ong (nếu dùng) vào và tiếp tục xay cho đến khi bơ mịn mượt, thỉnh thoảng vét thành và đáy máy xay. Thời gian tùy thuộc vào loại máy bạn dùng. Xay càng lâu hỗn hợp càng mịn mượt.

Kiểm tra độ mặn, ngọt của bơ, thêm mật ong và muối nếu cần. Nếu làm ‘chunky’ bơ đậu phộng thì các bạn cho vào ở bước này luôn. Bật máy xay thêm một chút cho các nguyên liệu hòa quyện. Toàn bộ quá trình làm của mình hết khoảng 15 phút, bao chụp hình?

Cho bơ vào trong chai hoặc lọ sạch, đậy kín, bơ sau khi làm có thể dùng ngay hoặc bảo quản trong tủ lạnh khoảng 3-4 tuần. Bơ đậu phộng sẽ đặc hơn khi bảo quản lạnh.
Chú ý:
Khi đang xay, đừng sợ khi thấy khói bốc lên từ hỗn hợp đậu phộng nha, cái này là bình thường, khói bốc lên từ mô-tơ mới sợ?
Nếu dùng máy xay sinh tố như mình, trong quá trình làm các bạn không nên xay liên tục mà nên tắt nghỉ để tránh máy bị quá nóng, làm giảm tuổi thọ của máy.
Ngoài đậu phộng các bạn có thể dùng phương pháp này để làm ra bơ hạnh nhân, bơ hạt dẻ và nhiều loại bơ hạt khác nữa.
IN ENGLISH
In my opinion, homemade peanut butter is the easiest thing everybody can make at home. It is healthier, more tasty than store-bought and the most important is we know exactly what is going into our peanut butter. However, I have to be honest with you that homemade peanut butter will not have smooth texture like commercial peanut butter, it will be a little little gritty?

All you need to make peanut butter are peanuts?of course, and a food processor or a blender. If you have food processor, it is much easier and quicker but I’m fine with my blender.
Beside ‘the necessary ingredient’ I added honey and salt which gave it more flavor. Oil is also optional but I highly recommend this becasue it helps your peanut butter creamier and smoother even when it in refrigerator. Finally, I do not need to tell you how to eat them, right??
The peanut butter will thickens after refrigerated.

Ah, once more thing, roasted or raw peanuts is optional, I prefer to use roasted peanuts as it has rich flavor and fragrant. That’s all?
Make about 3 1/2 cups (about 520g)
4 cups ( about 500g) raw/roasted shelled, skined peanuts
½ teaspoon salt (optional)
2-3 tablespoons oil (optional), I would not use olive oil
2 tablespoons honey (optional)
*If using honey roasted peanut butter, you probably will not need to add any salt and honey.
Put the peanuts in your blender or food processor, cover with the blender’s lid and pulse few times until they are chopped. For chunky peanut butter, remove about 1 cup of chopped nuts and set them aside.
Process again until finely ground. Lift cover and add the salt and oil (if using), process the mixture for another 1 minutes. It will be quite soft at this point.
Run the blender or food processor another 1-2 minutes, stop and scrape down the sides as needed. Add the honey (if using), process the mixture until it is very smooth and creamy. Time will vary depending on your machine.
Taste and add more salt and honey as needed. If you reserved some chopped nut for chunky peanut butter add them now and process a few seconds more.
Put your creamy and warm peanut butter into a glass jar or airtight container, it can be used immediately or store in refrigerator for 3-4 weeks .
Notes:
- This whole process took about 15 minutes with my blender. Food processor might be faster.
- If using a blender, carefully not to process for more than 1 minutes or the machines could over heat. You should stop time to time and scrape the sides and start again.
- It is normal if the nut mixture started smooking.
- Sometimes you will need to add more oil to make it creamier, you will see when you make it.
- You can use this blending technique to create other nut butters (almonds, pistachios, sunflower seeds, pecans, etc).
- My easy ways to get skin off peanuts:
- Raw peanuts: Put raw shelled peanuts in boiling water 3 minutes to loosen skins. Roll the peanut in a towel then rolled them with your hands or pinch the tip of the peanut to remove the skin.
- Roasted peanut: roast the raw shelled peanuts in oven (175C) about 20-25 minutes (stir at least twice during the roasting time). Let it cool completely then roll them with your hands to remove the skin. When you are done take them outside and just blow the skins.
Have fun!